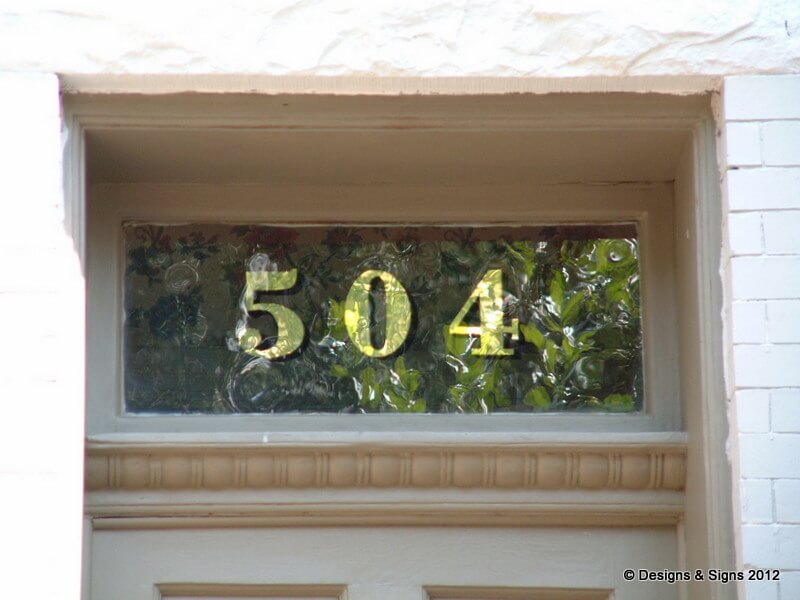
First, Tape Up Your Installation Pattern
Use a tape measure and a level to position the pattern correctly. Remember, once the letters are on, you can’t move them without damaging the wall. Our double-sided installation tape is very strong, so if you try to remove a letter, you’ll damage the wall’s surface. At that point, you’d need to patch and paint the wall before you could reapply the misplaced letters. In short, be careful, and be patient too!
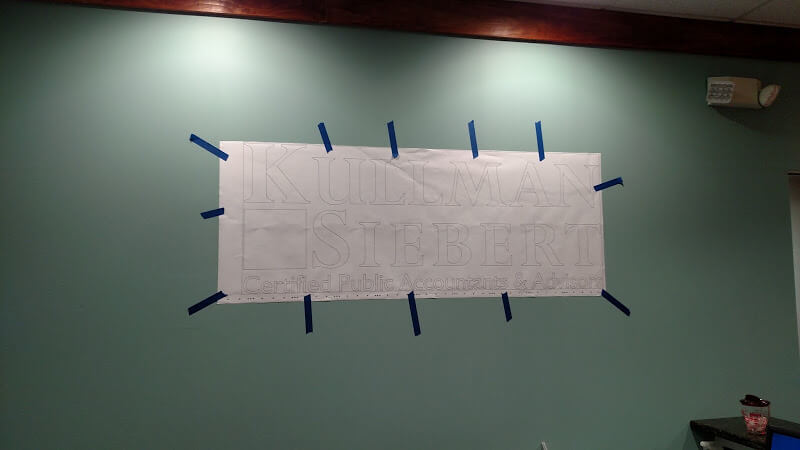
How to Install 3D Letters with a Paper Pattern
Here’s how to install dimensional letters. First, tape your paper pattern securely to the wall, using a tape measure and a level. In general, it’s a good idea to install all of your letters at or above eye level. That way, if someone leans against the wall, you don’t have to worry about damaging the letters.
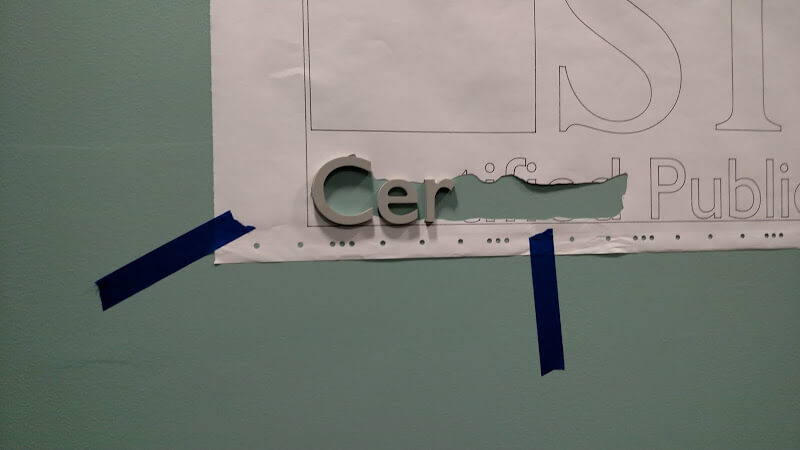
Cut Your Installation Pattern Carefully
Next, use an X-Acto knife to cut away the paper letters, leaving small parts of the drawing in place. I usually leave the tops and bottoms of the letters and cut out the middle of each downstroke. That way, the installation tape sits in the middle of the downstrokes. This lets me place the letters accurately, and I don’t have to worry about the tape sticking to the paper instead of the wall.
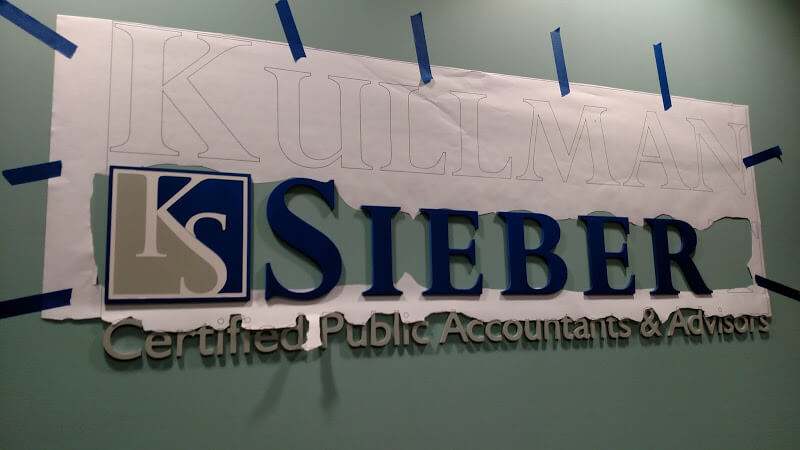
Install the Small Letters First
Now that you know how to install dimensional letters, there’s one more point worth stressing. I install the smaller letters first and the larger letters last. Then, once all of the letters have bonded securely to the wall, I carefully remove the paper pattern. To see the finished job, take a look at the Kullman Siebert dimensional letters.
We make dimensional letters in our Edgewater, MD shop and ship them anywhere, complete with a paper installation pattern. If you’d like help with your own letters, we’re happy to answer questions.
Contact Designs & Signs
The quickest way to get started on your project is to send us an email.
We can also be reached by phone at (410) 798-5115.